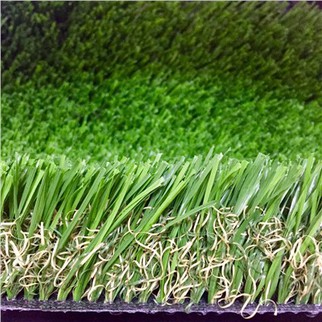
Synthetic grass installation can be basic; however, no two synthetic grass installs are done exactly the same way. There will always be unique situations for each install; however, there are basic differences for specific synthetic grass needs. A typical synthetic grass installation can last anywhere between one to three days.
For a basic synthetic grass installation, consider these steps:
1. Pre-Installation:
Remove existing materials and rough grade the area to create a solid sub-base. Rough grade the area to uncover everything underneath, including electric wiring, irrigation and pipes. Cap sprinklers at the pipe level to avoid any kind of leakage. Install bender board to provide a clean separation for plants and turf.
2. Base Preparation:
Install ½" or less crushed base to allow for proper drainage. Install this layer three inches deep. Distribute the base and ensure it is level to account for any sloping areas. Install drainage area. A smooth base will account for the surface-level appearance of the project.
3. Compacting Base:
Compact base by vibrating, tamping and rolling the gravel. This ensures the base is solid so nails can be driven into the turf.
4. Weed Retardant Layer (optional):
The weed cloth layer prevents growth from the base through the turf. This layer is not recommended if the installation involves pet usage. Overlap weed cloth edges by six inches and secure with as many flathead nails as possible to prevent the cloth's movement. Trim the cloth to fit the area and leave a quarter-inch gap along the hardscape or border areas to allow for easier tucking.
5. Laying Turf:
Find a straight edge of the turf or a perpendicular edge for alignment. Square to fit the area and minimize cutting and fitting on all four sides. Secure the turf edges with nails to hold them in place. *Remember to soldier the turf towards your privileged viewpoint; in other words, consider the natural blade direction of the grass
6. Custom Fitting Turf:
Overcut the turf by one inch along the edges to provide excess turf necessary for tucking. If there are doubts, cut the turf fatter than estimated, as it can be trimmed later. Use a seaming tool to seam edges together. Cut the seams in an S-shape to avoid the turf pushing up. Install nails every six inches along the edges and drive them ¾ of the way down. Remember to move the surrounding fibers with another nail or staple, then tap the nail head all the way to the backing. Use U-shaped nails for the seams to join the turf edges together.
7. Tucking Turf (optional):
Hide the edges of your turf against the hardscape by using a metal bar known as a "wonder bar."
8. Apply Infill:
Use a power brush to force grass blades up for infill to be applied. Apply your specified infill layer. The infill layer acts as a balance to hold the blades upright and gives the turf more weight.
9. Final Groom:
Power brush the turf once again to lightly force infill granules into the base of the turf. Remove any excess debris.